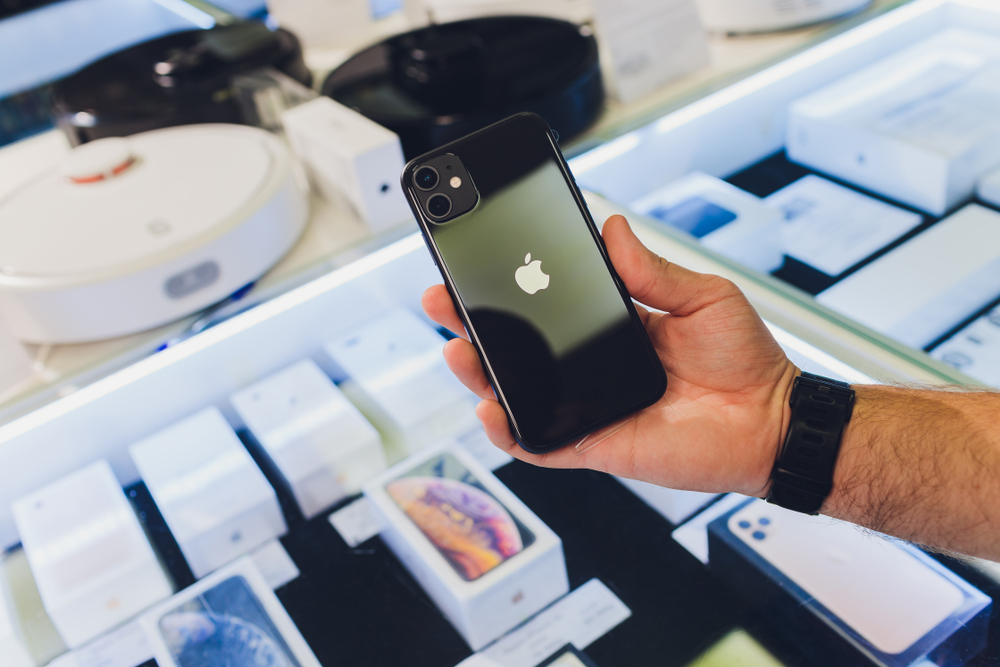
12 tips and tricks for getting even better videos on your iPhone 11

When it comes to recording videos, the iPhone 11 and 11 Pro are two of the best options available right now. In terms of video recording, no other brand can match the iPhone’s prowess. With the iOS 13 updates video recording processes have been further simplified. If you really want to add more to your videos, below are some tricks that might help:
Holding your iPhone
While it’s absolutely perfect to shoot your videos whichever way you like, may it be landscape or vertical. But when you are considering posting these videos to one of your social accounts, you need to be thoughtful of the orientation. So for instance, vertical videos go with Instagram the best, whereas with Youtube horizontal videos are preferred. If you are making videos for fun, then you can be as playful as you want but if you want to edit the video clips later, it is best to hold the phone the same way each time. This will make the process easier and you won’t have to worry about the black bars.
Choosing a resolution
IPhone allows you the option to record videos at 720p, 1080p and 4K, but the 4k resolution offers the best results. If video quality is not a priority and you want to capture more clips, dropping the resolution would then work just fine. iOS 13.2 or anything above would allow you to change the resolution settings quickly. All you have to do is tap the resolution icon in the corner of the camera viewfinder and you can choose an option that works for you the best. You can even change your camera settings from within the Settings app, such as formats, grid overlay and stereo audio.
Adjusting the frame rate
With the iPhone, you have the option to shoot 4K videos at 24, 30 or 60fps. While 24fps gives you a cinematic feel; 30fps works just fine for vlogs and YouTube or videos to be posted to other social accounts. Where there is a lot of motion involved, 60fps should be chosen. 60fps, isn’t just great for lighting, it also helps make your video look sharp. After recording at 60fps, you can always slow down the speed while editing to give motion a more dreamy feel.
Using Slow motion
Capturing slow-motion high frame rates requires more light and sadly, artificial lights don’t blend in so nicely. While the flaws may not be so apparent on a small screen, the bigger ones will expose them.
Controlling Auto Exposure and Auto Focus
Auto exposure and autofocus are tied together on the iPhone and to fine-tune your exposure, tap the display where you want to focus. A yellow focus/exposure square will appear on the subject, use your fingers to slide up or down to adjust the brightness.
Explore Zooming options
An iPhone camera has both optical and digital zoom options. Optical zoom allows the camera to shoot at its natural magnification. The iPhone 11’s main camera has 1x magnification and the ultra wide-angle camera has 0.5x magnification. The 11 Pro also has a third “telephoto” camera, enabling 2x magnification. Filming at these magnifications allows you to achieve optical quality. Zooming at 1.9x or 6x magnification, employs digital zooming, which can degrade the image quality, making it look soft and blotchy. That said, digital zoom in good lighting will still produce good results.
Zoom in and out
You can zoom in and out while recording by tapping the magnification button near the shutter button to change cameras. With the iOS 13, the newly introduced Zoom Dial allows you to use your thumb or finger to zoom in and out in a buttery-smooth motion. Simply tap and hold on the magnification button — 1x, 2x or 0.5x and slide the dial to zoom in or out.
Enable Instagram-style video recording
In an emergency, you don’t have to manually switch to video mode, all you have to do is press and hold the shutter button to record video. It is similar to Instagram and Snapchat, where the recording stops when you lift your finger. For the shutter button to keep recording video, drag your finger from the shutter button to the lock.
Discover editing options
This is the first time you won’t have to rely on a third party app to rotate or make basic changes to your videos. iOS 13 lets you apply all the editing tools to your recorded videos. When you enter editing, you can rotate the videos to fix their orientation and adjust other aspects such as exposure, highlights, shadows or contrast. Moreover, you can even choose filters and use the slider to mix how strong you want it to be.
Trimming your video clips
Apps such as iMovie and LumaFusion can help you bring multiple video clips together, with the option to add music and transitions. However, the beginning and the ending of your clips can be trimmed straight from the camera roll. You simply have to select a video from your camera roll and enter editing mode. Press and hold on the video timeline below the video, while sliding your finger. A yellow outline will appear, which can be used to edit the video. Once done, tap finish.
Embracing selfie vlogs
The front-facing camera on the iPhone 11 and 11 Pro is pretty impressive; it is as good as the back one. You can record videos in 4k, and the dynamic range it allows is perfect for vlog-style videos.
Improve audio quality
Your video is as good as the audio, while onboard mics are decent for recording, having the object far from the frame may not affect the video quality, it will not enable good audio. If you are vlogging, use the wired headphones that come with the iPhone as a mic. External microphones can be plugged into the iPhone’s lightning port, such as shotgun mics or cable microphones.
For more tips and tricks, don’t forget to subscribe to our newsletter and if you want to develop iOS app then you may contact us!


